Monday, March 26, 2012

I Like it Cheesy!

If you have searched far and wide for that perfect potato recipe, you can finally end your search.  These potatoes are the very best casserole and your entire family will love them.  Extra bonus is that they are awesome served as leftovers.

Cheesy Crunchy Potato Casserole
1 32oz bag of shredded hash browns (thawed)
1 10oz can of cream of chicken soup
1/2 cup of melted margarine melted
1 10oz bag of sharp cheddar shredded cheese
8oz of sour cream
Salt and pepper

Topping
3 cups of crushed cornflakes
1/4 cup of melted margarine


Mix all of the ingredients, except for the topping, into one very large bowl.  Spread this into a 13x9 casserole dish ungreased.


Next take the cornflakes and pour them into a freezer bag and bust them up.  Take out some aggression, then pour the melted 1/4 cup of butter into the bag.  Toss it all around and pour the topping evenly on top of the potatoes.

Put it in the oven on 350 for 30 minutes until the top is nice and toasty.


Now sit back and enjoy.  Make sure you get all you want on the first serving, because there won't be any left for the second helping.

Thursday, March 8, 2012

Time for a Re-Org

It was finally time to address our master closet "situation".  I have a bit of a shopping problem and I needed to have a little bit of a reality check, as well as, clean up our closet.  I wanted to do it on a budget and not spend a ton because I am hoping in a year to do something fancy.  Have my own little Mariah Carey closet ;)

Here are some of the cheap ideas I came up with.

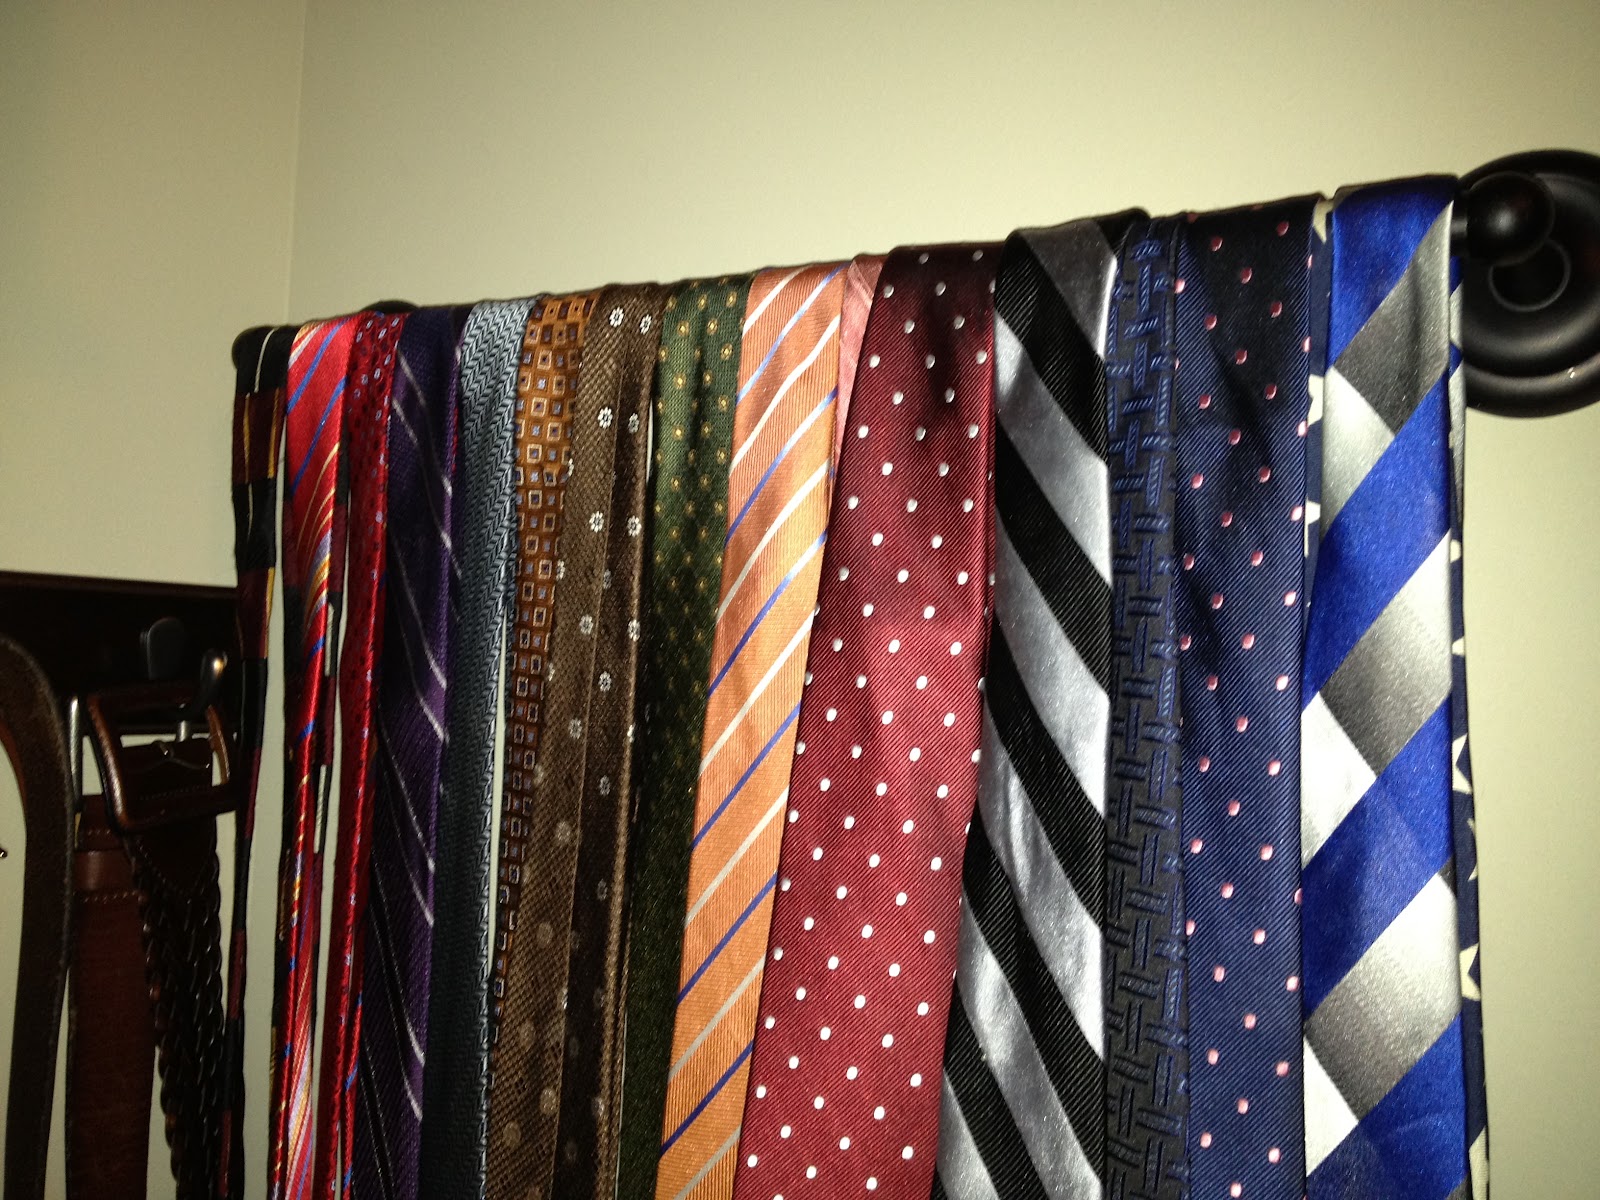
1. Towel rack for ties
This one was about $10, but you can get a plastic one for $3-$4.


2. Hook towel rack for belts
Cost- $12

3. 3 Hook over the door hanger for purses
This one cost $10, but they have so many different types and some were is a little as $5.


4. Single hook over the door hanger for my husbands belt
Cost: $4

5. And the shoes.
This is about a quarter of my shoes, do not judge me, and I had this shelf that was taking up a little nook in my closet.  This is where I wanted to hang the towel racks for belts and ties.  So I turned it on its side and put it on a shelf that was not being used.


So the whole thing was about $35, which I thought was pretty good.  What budget friendly organization ideas do you have?

Wednesday, March 7, 2012

They Call Me a.....Carpenter?!?

I found these awesome door knobs at Hobby Lobby for a dollar each and I wanted to do something cool with them.  During my manic master bedroom organization, I decided to organize all my necklaces and here is what I came up with.  This was my very first "carpentry" project!!

What you need:
Piece of wood (you choose the length and type)
Door knobs (however many you would like)
Drill
Forstner bit
Drill bit
Pull saw
File


Since the knobs I brought had nuts that screw into the back, I had to recess the wood so the nuts would fit with a 3/8" forstner bit. 

Next I used a 3/16" drill bit to make a hole all the way through on the front.  Then you screw the knobs in.  The nut goes on the back of the hole in the recess on the back of the wood, knob in the front.


The screw will be much longer then you need, so use a pull saw, have it flush against the wood and saw off the extra length.


If you need to you can use a file to smooth out the jagged edge of the rest of the screw.  This will keep you from cutting yourself or scratching up your wall.


And you are ready to hang.  I used two eye hooks and some ribbon and the finished look.......

Tuesday, March 6, 2012

WineS

I fell in love with all the craft projects that have a solution for all my wine corks!!  So I decided to use them on a giant initial.  I think I had about 80 wine works, which I had saved for the last four years.  Naturally, I felt this would be no sweat....WRONG.  I ran out of corks.  So, if you are OCD like me you can order these online.  I got 200 for $40 which I know I will use the rest in other projects.  These are not used, so they will be wider then your used corks and some will not have a label on them.  If you are a patient soul and the blank letter does not bother you, then you can add this as you drink.  I honestly love the end result and the entire project was super easy.

Here is what you need:
A giant letter (I used one of the paper letters because it was much cheaper and easier to find)
Paint
Brush
Glue gun
Wine corks


Paint the sides and front of the letter with the paint color of your choice.  I initially laid out my corks to see how many I would need.  You can also just lay this out as you go.  I kept my corks pretty close together, you can space this out more and you could probably less corks.  Simply put a thin layer of super glue on one bottom of the cork and clue to the letter.

And here is the final result.

Get to drinking and make sure you host those wine parties and keep the corks! 

Cheers!!

Wednesday, February 22, 2012

Chicken and Rice Casserole

This is another family fav that is quick and easy.


Ingredients
3 Cups of shredded rotisserie chicken with out skin
1 Can of Cream of Celery
2 Cans of French Style Green Beans
1 Diced sauteed onion
1 Pkg Uncle Ben's Ready Wild Rice
1 Cup of Mayo
2 Cups of Sharp Cheddar Cheese
Salt and Pepper to taste

1. Saute onion with olive oil or a little butter.
2. Mix all the ingredients, except cheese, together in a large bowl.
3. Spray baking dish with Pam and pour all ingredients, except cheese into the dish.  Sprinkle cheese on top.  Bake at 350 for 20-25 minutes.


This is great leftovers which is always a big plus for us!!  I hope you enjoy and if you find a way to make it any better, please share your tasty ideas.

Tuesday, February 14, 2012

Super Chic Valentines Day Gift

As I mentioned in my blog post Hearts With Love that I was making a little valentines gift for my girlfriends and here is what I came up with.

I put magnets on the back of the hearts.
And put them on top of some mason jars which I filled with two different sugar scrub recipes.  Brown Sugar Scrub and Vanilla Brown Sugar Scrub.

 I think they turned out so cute and it was super affordable.  A nice little way of telling the special ladies in your life that you are thinking about them.

Total Cost: $20 ($1.67 per jar)
Crayon Hearts- $4.00
Magnets- $2.00
Jars- $8.00 a dozen
Sugar Scrub- $6.00

My Very Own Shim Sunburst Mirror

So, I jumped on the Shim mirror band wagon and this was probably one of my favorite projects.

Here is what you need:

14 packages of shims (10 per package)
Mirror (I used a mirror for candles which you can get at any craft store)
Wooden circle (You can get this at Michaels and it is with the wreath items)
Wood glue
Super glue
Stain or paint

The hardest part is starting off with the pattern you like.  You can do anything you want.  I went in sets of five and staggered them.  I tried using hot glue with the shims, but it will leave a little bit of a space between the shims and I thought this was a bit messy.  I chose to use your regular old wood glue.  Remember if you get wood glue on wood you want to stain, wipe it off immediately with a damp rag because the stain won't take to the wood.  I would glue in quarter parts and let the wood glue set.  This will help keep the shims from moving around on you. 


Staining this was the hardest part.  I probably would have stained the ends of the shims first, then glued them together, and lastly stained the entire thing.  I had to use a small craft brush to get between the shims.  And the final look.......

Ta da- Shimmy Shim Shim Mirror!

Total Cost: $31.57
Shims- $1.58 per pkg- $22.12
Stain- $6.70
Mirror- $1.40
Wood Circle- $1.35